Physical Address
304 North Cardinal St.
Dorchester Center, MA 02124
Physical Address
304 North Cardinal St.
Dorchester Center, MA 02124


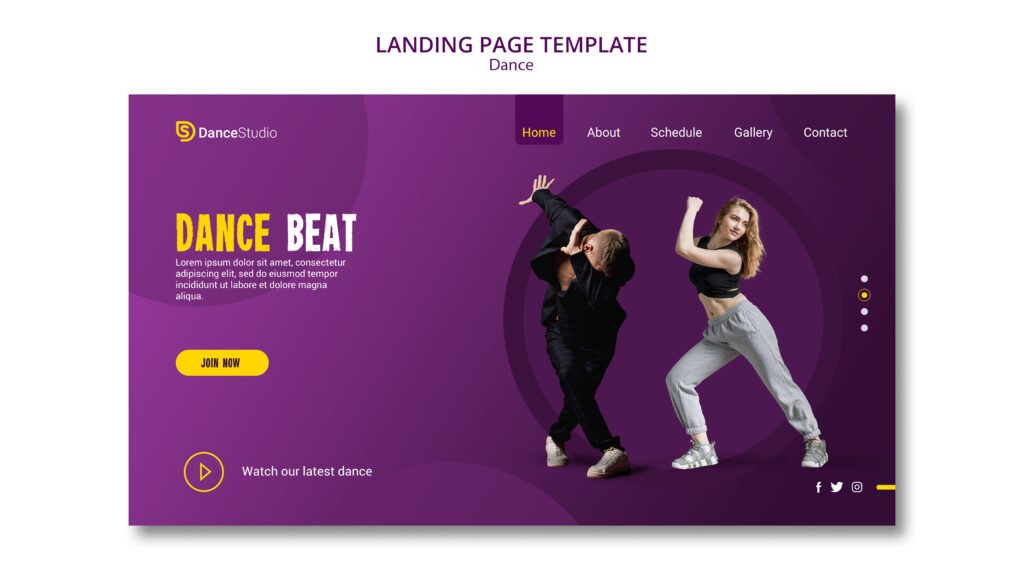
If you’re wondering how to create a dance studio website, you’re in the right place. A well-designed website is essential for attracting new students, showcasing your classes, and establishing your studio’s online presence. In this guide, we’ll take you through the steps you need to build a site that is not only visually appealing but also optimized for growth and success.
✔️ User-Friendly Drag-and-Drop Interface
✔️ Highly Customizable Design Options
✔️ Pre-designed Templates and Blocks

✔️ High-Performance SSD and NVMe Storage
✔️ Robust Security Features
✔️ 24/7 Customer Support

✔️ High-Performance Infrastructure
✔️ Comprehensive Security Measures
✔️ User-Friendly Management Tools
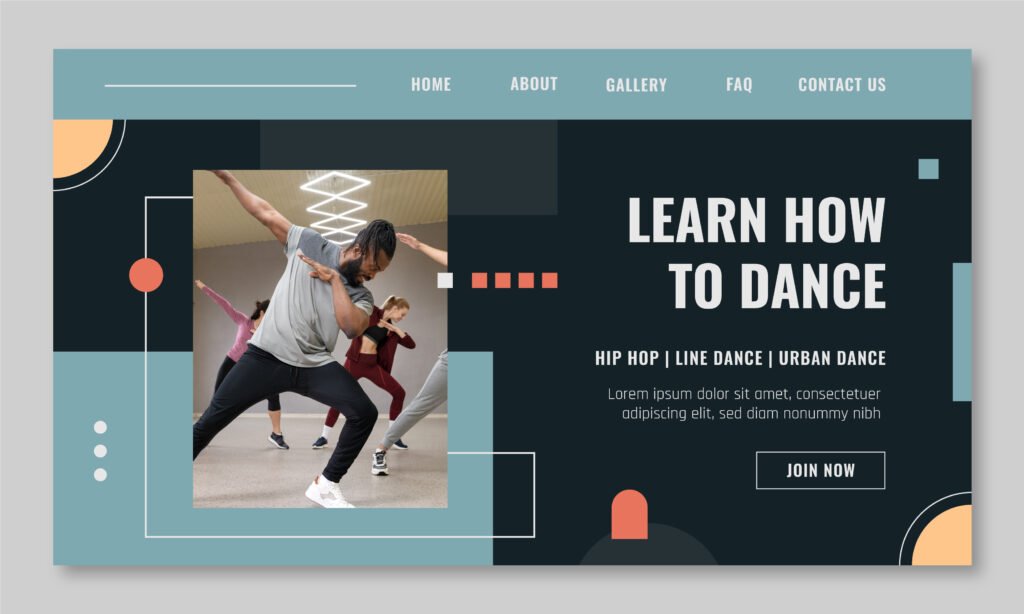
In today’s digital world, a professional website is no longer a luxury it’s a necessity for any successful dance studio. Whether you’re just opening your doors or have been teaching for years, having a website is essential to growing your studio and building your brand. Here’s why:
Before anyone calls, visits, or signs up for a class, they’ll likely look you up online. A well-designed website acts as your studio’s first impression, showing potential students (and their parents) who you are, what you offer, and why you’re the best choice in town.
Without a website, you’re invisible to a huge number of people who search for dance classes online.
A clean, professional-looking website instantly adds credibility to your studio. It shows that you’re serious, organized, and invested in your business. Features like class schedules, instructor bios, testimonials, and photo galleries can reassure visitors that they’re making the right choice.
On the other hand, if you don’t have a website or if it looks outdated people may question the quality of your studio.
Your website acts as a 24/7 information hub. Prospective students can quickly find important details like class schedules, pricing, location, and contact information without needing to call or visit. This convenience helps busy parents and students make faster decisions.
You can also keep existing students updated about events, class changes, and studio news through your site.
With features like online registration, trial class sign-ups, and easy-to-use contact forms, your website becomes a powerful tool for generating new leads. Instead of losing people who are “just looking,” you give them a clear next step signing up directly through your website.
This not only fills your classes faster but also streamlines your administrative work.
Your website gives you the foundation to grow your dance studio beyond word-of-mouth. You can optimize it for Google search (SEO), run Facebook and Instagram ads that link to landing pages, build an email list, and even sell merchandise or tickets to performances.
Without a website, you miss out on powerful marketing opportunities that can take your studio to the next level.
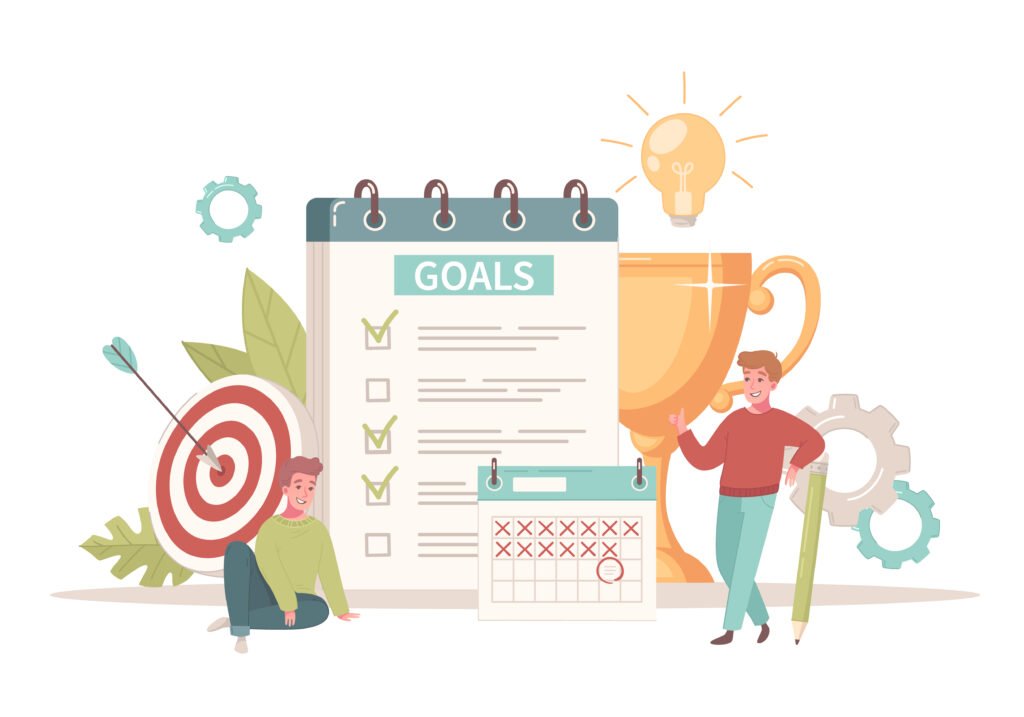
Before you start building your dance studio website, it’s important to get clear on what you want it to achieve. Defining your goals early will guide every decision you make from the design and layout to the features and content you include.
Here’s how to think about it:
For many dance studios, the top goal is simple: bring in more students. If this is your priority, your website should focus on making a strong first impression, providing detailed class information, and making it incredibly easy for visitors to sign up or book a trial class.
Key features to support this goal:
Your website should tell the story of your studio what makes it unique, what styles you teach, and the kind of community you’re building. A strong brand identity can help you stand out from competitors and attract students who are the right fit for your style and values.
Key features to support this goal:
If saving time and streamlining operations are priorities, your website should include tools that let students register for classes, book private lessons, or reserve spots at workshops directly online. Automating these processes can drastically reduce your administrative workload.
Key features to support this goal:
For some studios, the goal is deeper engagement building a loyal community that stays connected outside of the studio. A website can be a central place where students and parents find updates, events, newsletters, and even members-only content.
Key features to support this goal:
If your studio sells branded merchandise, recital tickets, or online dance classes, your website can become an additional revenue stream. Setting up an e-commerce section will allow you to showcase and sell directly to your students and their families.
Key features to support this goal:
Pro Tip:
Don’t try to do everything at once. Pick your top 1–2 goals and design your website around them first. You can always add more features later as your studio grows.

Once you know your website goals, the next step is to choose the right platform to build it on. Your choice of website builder will affect how easy it is to design, update, and grow your site so it’s important to pick one that fits your needs, skills, and budget.
Here’s how to make the right decision:
Unless you have a background in web design, you’ll want a platform that makes creating a beautiful site as simple as possible. Look for a builder with drag-and-drop functionality so you can easily customize pages without writing any code.
Top picks for ease of use:
Elementor: Very beginner-friendly with a drag-and-drop builder and plenty of customization options for dance studio websites.
Ultahost: Offers high-performance hosting with robust security features, perfect for ensuring your dance studio website runs smoothly and securely.
ChemiCloud: Provides fast website performance and user-friendly management tools, making it easy for dance studio owners to manage their sites efficiently.
Not every website builder comes ready with features dance studios need, like class schedules, booking integrations, or event calendars. Before choosing, check if the platform offers:
Top picks for features:
Your website needs to reflect your studio’s unique style and energy. Choose a builder that gives you the creative freedom to customize fonts, colors, layouts, and imagery without heavy restrictions.
Good options for flexibility:
You might start with a simple site today, but what about next year? If you plan to add online classes, sell merchandise, or grow into multiple locations, you’ll want a platform that can scale with you.
Top picks for scalability:
Website builders usually have monthly or annual fees. Some are all-in-one (hosting included), while others (like WordPress) require paying separately for hosting, domain names, and some plugins.
General pricing overview:
Quick Tip:
If you want to launch quickly with minimal fuss, Elementor paired with WordPress is a great option for easy customization and fast setup.
If you’re looking for robust performance and security while planning for long-term growth, Ultahost or ChemiCloud are better choices for reliable hosting and scalability.
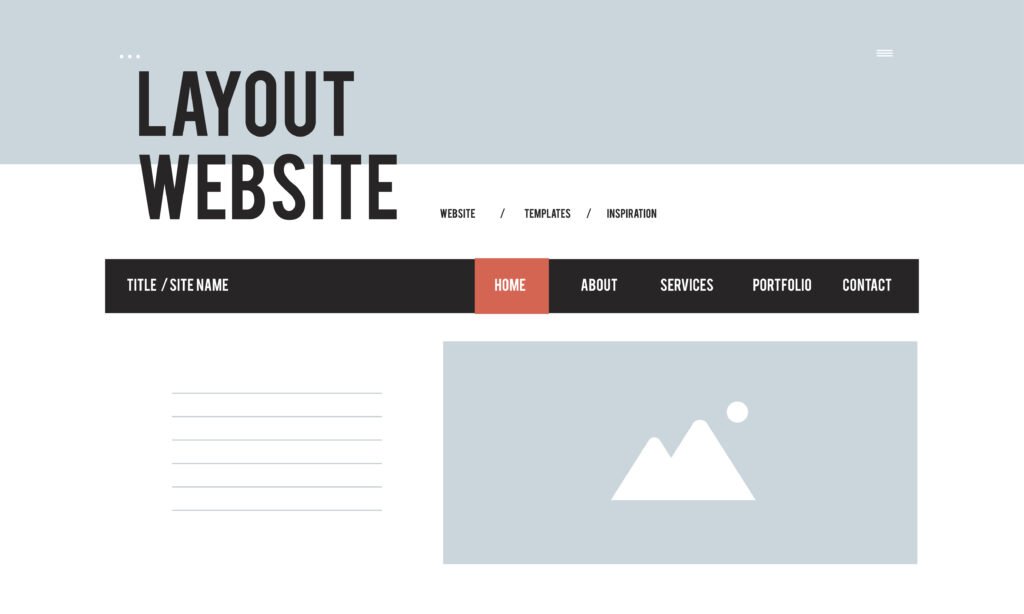
After choosing your website builder, the next step is selecting a template. A template is basically the design foundation for your site it controls the layout, colors, fonts, and general “look and feel.” Picking the right one will save you a lot of time and make your site look polished from the start.
Here’s how to choose a dance studio template that works for you
Dance studios are service-based businesses, so you need a template that’s built around showcasing your offerings and getting people to take action. Good templates for dance studios usually include:
Tip:
Even if a template isn’t labeled “dance studio,” templates made for gyms, yoga studios, or fitness centers can also work perfectly.
More than half of all website traffic comes from mobile devices. Your dance studio website must look great and work smoothly on smartphones and tablets. Always choose a mobile-responsive template that automatically adjusts to different screen sizes.
How to check:
Preview the template on your phone or use the “mobile view” option in your website builder before committing.
Think about your studio’s personality. Are you a classical ballet academy? A high-energy hip-hop center? A kids’ dance school?
Pick a template that visually matches your brand’s vibe from the fonts to the imagery and overall feel.
Examples:
Even the best template should be just a starting point. You’ll want to tweak colors, images, text, and layouts to match your studio’s unique identity. Choose a template that’s easy to customize without needing a graphic designer or developer.
Key elements you should be able to customize easily:
Remember: no template will be 100% perfect from the start. Pick one that checks most of your boxes, then customize it as you go. It’s much better to launch a good site quickly than spend months chasing the “perfect” design.
Pro Tip:
Start by choosing 2–3 templates you like, then preview them with your studio’s branding (logo, photos, and colors) before making the final choice. Seeing your actual content in the design can make your decision much easier.
Now that you have your template picked out, it’s time to start building the pages that will make up your dance studio website.
Each page should serve a purpose whether it’s providing information, encouraging sign-ups, or showcasing your studio’s energy and expertise.
Here are the essential pages every dance studio website should have:
Your homepage is often the first impression potential students and parents will have of your studio.
It should quickly communicate:
Key elements to include:
People want to connect with the heart behind your studio. The “About Us” page tells your story what drives your passion, your mission, and why your studio is special.
What to include:
Tip:
Keep it warm, authentic, and relatable. People love personal stories!
This page is where serious prospects will go next. They want to know what types of classes you offer, when they happen, and how they can join.
Key elements:
Bonus:
Use filters (e.g., by age group or dance style) if you offer many different classes.
You want to make it easy for people to reach you.
Your contact page should be simple and highly visible.
What to include:
Pro Tip:
Also add your phone number and email in the footer of every page for easy access.
Social proof builds trust. A testimonials page or even a section on your homepage lets happy students and parents speak for you.
What to include:
A blog isn’t mandatory, but it can be a major plus for SEO (search engines love fresh content).
You can use it to share:
Keeping your site active with fresh updates shows visitors that your studio is thriving and engaged.
Quick Checklist: ✅ Homepage
✅ About Us Page
✅ Classes/Schedule Page
✅ Contact Page
✅ Testimonials Page
✅ (Optional) Blog or News Page
Once your core pages are set up, it’s time to make your website work for you.
Integrating booking and scheduling tools allows visitors to sign up for classes, schedule trials, or even pay for session all without you having to lift a finger.
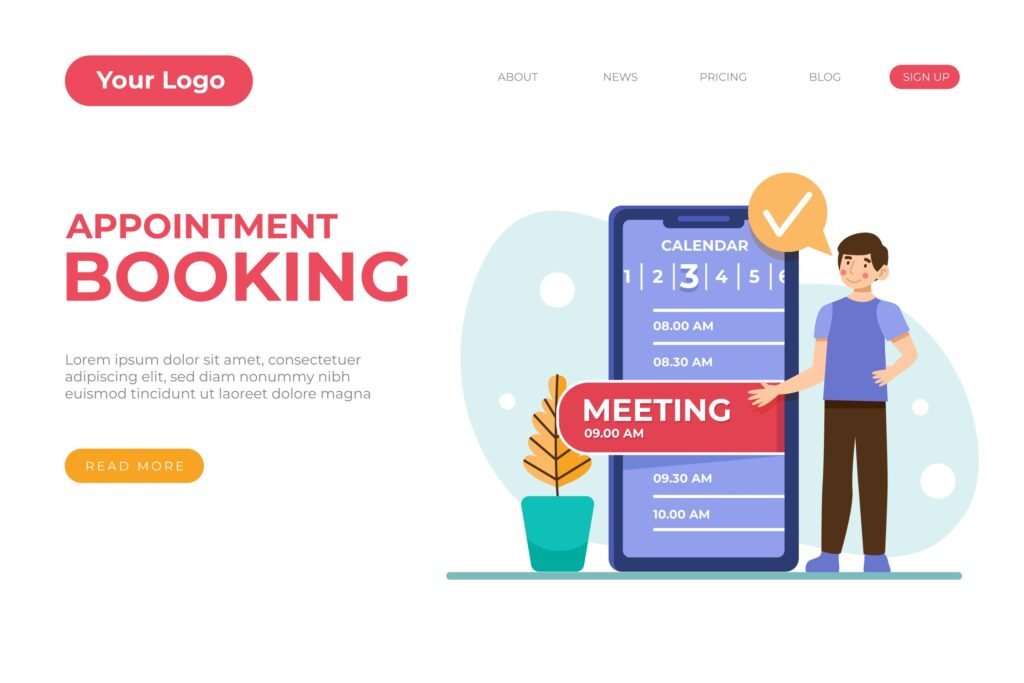
This is a huge time-saver for your studio and a better experience for your clients.
Here’s how to do it right:
Today’s customers expect convenience.
If someone has to call or email just to check class availability, they might move on to a competitor.
With online booking, they can:
It helps reduce no-shows, saves administrative time, and boosts enrollment all from your website.
Many website builders offer built-in tools, but you can also use third-party apps depending on your needs.
Great options include:
Tip:
If you’re using WordPress, plugins like Bookly or Amelia are powerful and customizable.
When choosing a booking tool, prioritize these features:
Adding a booking system usually takes just a few simple steps:
Make sure your booking button or form is easy to find ideally visible on the homepage, navigation menu, and throughout your site.
Since many users will access your site from their phone, make sure your booking process is smooth and fast on mobile devices too.
Test the full booking journey yourself to ensure it’s quick, easy, and error-free.
Pro Tip:
Label your booking button with action words like “Book a Trial Class” or “Reserve Your Spot” instead of just “Contact Us.”
Clear CTAs drive more clicks!

When visitors land on your website, they should immediately feel the energy, passion, and professionalism of your studio and the fastest way to do that is through stunning photos and engaging videos.
Here’s how to make your site visually stand out:
People connect emotionally with what they see.
High-quality visuals can:
In short, strong visuals sell your studio without you saying a word.
Key photo ideas:
Tip:
Use natural light when possible and hire a professional photographer if your budget allows. Even one great photo session can give you enough material for months!
Videos bring your dance studio to life in a way photos can’t.
They show movement, emotion, and atmosphere all critical for a dance business.
Video ideas to consider:
Pro Tip:
Keep most videos short 30 seconds to 2 minutes is ideal for web visitors.
To get the most out of your visuals:
Strategically place visuals throughout your site to enhance the user experience:
Quick Checklist for Great Visuals: ✅ Professional-quality images
✅ Real, authentic moments
✅ Fast-loading files
✅ Strategic placement across your site
✅ Short, engaging videos
Having a beautiful dance studio website is only half the battle now you need people to find it.
That’s where SEO (Search Engine Optimization) and local search optimization come into play.
When done right, SEO helps your website show up on Google when people are searching for dance classes in your area.

Let’s break it down simply:
SEO is the process of making your website easy for search engines (like Google) to understand.
When your site is optimized, it’s more likely to appear on the first page of search results right where your future students are looking.
For dance studios, local SEO is especially important.
You want people searching for phrases like “dance classes near me” or “ballet studio in [Your City]” to find you, not your competition.
Start with these essential steps:
Since you serve a local audience, local SEO is critical. Here’s what you should do:
Blog posts, news updates, or event pages related to your local community can help you rank higher.
For example, post about:
This shows Google that you’re active in your local area and it gives visitors more reasons to trust and connect with you.
Quick Checklist for SEO Success: ✅ Use clear, keyword-rich titles and content
✅ Optimize images and website speed
✅ Claim and update your Google Business Profile
✅ Build local citations and reviews
✅ Create useful, locally relevant content
You’ve built a great website now it’s time to share it with the world.
Launching and promoting your website properly ensures it reaches the right audience and starts bringing in new students.
Here’s how to do it effectively:
Before making your site live, review everything carefully:
Pro Tip:
Ask a few friends or staff members to browse the site and give honest feedback. A fresh set of eyes can catch things you might miss.
Once everything looks good, publish your website!
Most website builders make this as simple as clicking a “Publish” button.
If you’re using your own domain name, make sure it’s connected correctly and live.
Now it’s time to spread the word. Here’s where to start:
Tip:
Offer a small promotion to celebrate your launch like a free trial class or discounted registration for new students.
Wherever your studio is listed online (Google Business Profile, Yelp, directories, social media bios), update your website link immediately.
This helps drive traffic and shows that your information is current.
Promotion doesn’t stop after day one. Keep building momentum by:
Quick Checklist for a Strong Launch: ✅ Proofread and test your website
✅ Publish and connect your domain
✅ Announce on email and social media
✅ Update all online listings
✅ Keep promoting consistently
Creating a website for your dance studio is an essential step in growing your business, reaching new students, and building a strong online presence. By following these steps from defining your goals and choosing the right platform to optimizing for SEO and launching with a bang you’re setting your studio up for success.
Remember, your website is more than just a digital brochure. It’s an opportunity to showcase your studio’s personality, promote your classes, and connect with your community. With high-quality content, engaging visuals, and a well-thought-out marketing plan, your website will become an invaluable tool in attracting and retaining students.
Now, it’s time to take action. Start building, promoting, and refining your website and watch your dance studio thrive!