Physical Address
304 North Cardinal St.
Dorchester Center, MA 02124
Physical Address
304 North Cardinal St.
Dorchester Center, MA 02124

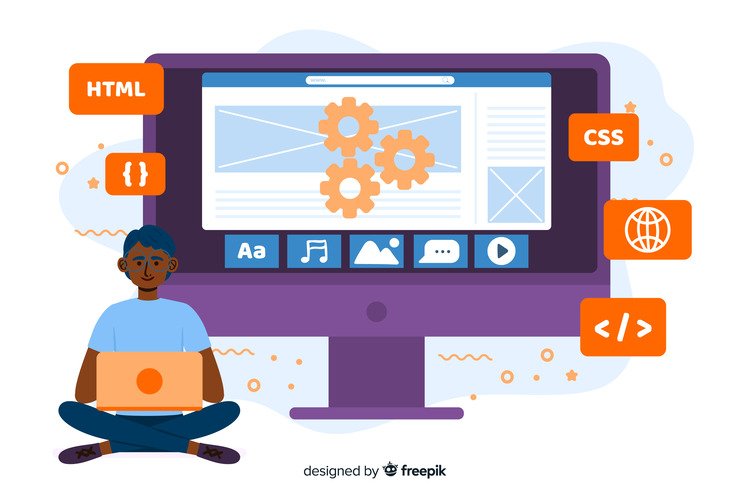
How to create a website in 5 minutes for free sounds too good to be true, right? But with today’s free website builders, it’s not only possible, it’s easy. Whether you’re starting a portfolio, launching a side hustle, or just want a digital home for your ideas, this guide will walk you through the exact steps to get online fast no coding, no credit card, and no stress.
Ready to go from idea to live site in minutes? Let’s get started.

When you’re trying to create a website in 5 minutes for free, the most important decision is picking the right website builder. Why? Because the platform you choose will determine how fast, easy, and flexible the whole process is.
Here’s what to look for in a free website builder:
If your goal is to go from idea to live website in just 5 minutes, you need a builder that’s intuitive and doesn’t require coding. Look for drag-and-drop functionality, pre-made templates, and a setup process that gets you online quickly.
Today, most people will visit your site from their phone. Make sure the builder offers mobile-friendly designs out of the box this saves you time and gives your site a professional feel instantly.
Some platforms say “free,” but then charge for hosting or publishing. A true free website builder will include hosting and give you a free subdomain like yourname.sitebuilder.com. It’s not custom, but it works perfectly for testing an idea, building a portfolio, or getting your brand online fast.
Here are a few platforms that actually let you publish a real website for free, without hidden fees or complicated setup:
Don’t get stuck trying to pick the “perfect” platform. They all let you get started for free, so if one doesn’t feel right, try another. The point is to get your site live then you can tweak, grow, and upgrade later.
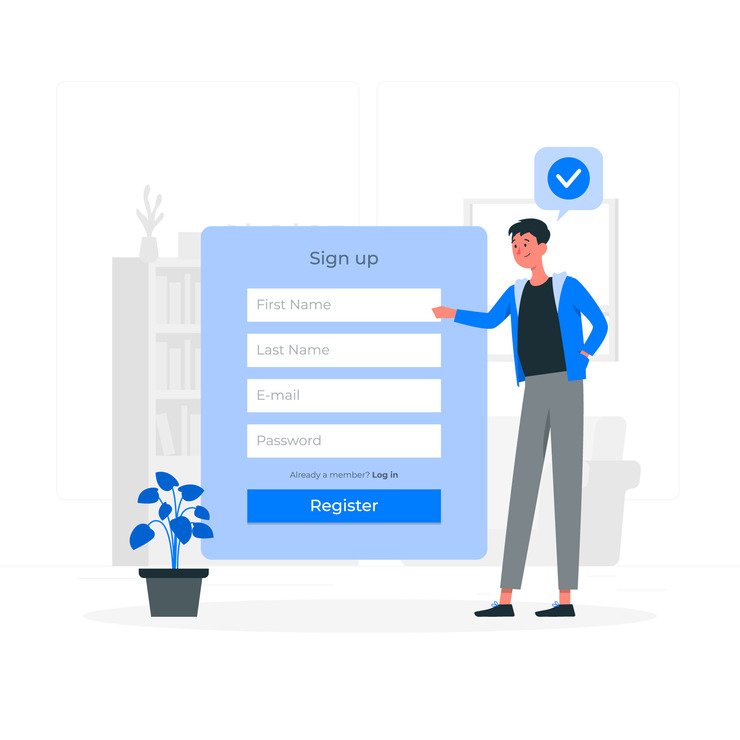
Once you’ve chosen your free website builder, the next step is simple but crucial: create an account. This is your gateway to building, saving, and publishing your website.
But here’s the catch: while most platforms make sign-up quick, what you choose during this step can save you time later.
Most website builders will walk you through a simple form or let you sign in with one click using Google. If you’re using a platform like Carrd or Google Sites, the process is even faster just log in and go.
Even if you’re just testing an idea now, choose a username or site name that looks clean and professional. For example, instead of john123testsite, try something like johncreates or boldbrands.
If you’re planning to use a personal or business email, try to keep the same name across your site and account. It helps you look more credible and makes sharing your site easier later.
Many platforms will nudge you to upgrade right away ignore that for now. The free version is more than enough to get your site live in 5 minutes. You can always upgrade later if you need custom domains or advanced features.
Once your account is created, most builders will launch a guided setup wizard. These wizards are super helpful they’ll walk you through picking a template, naming your site, and sometimes even adding your first content.
The good news? This process usually takes under 2 minutes.
Creating your account is more than just a formality it’s the foundation of your site. Once this step is done, you’re ready to start building and customizing.
Ready to move on to Step 3: Pick a Template or Theme?
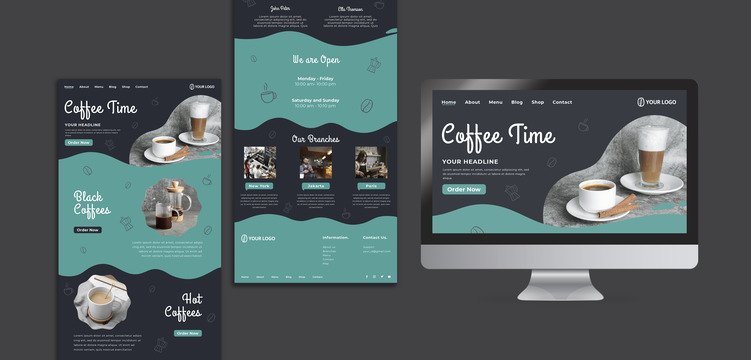
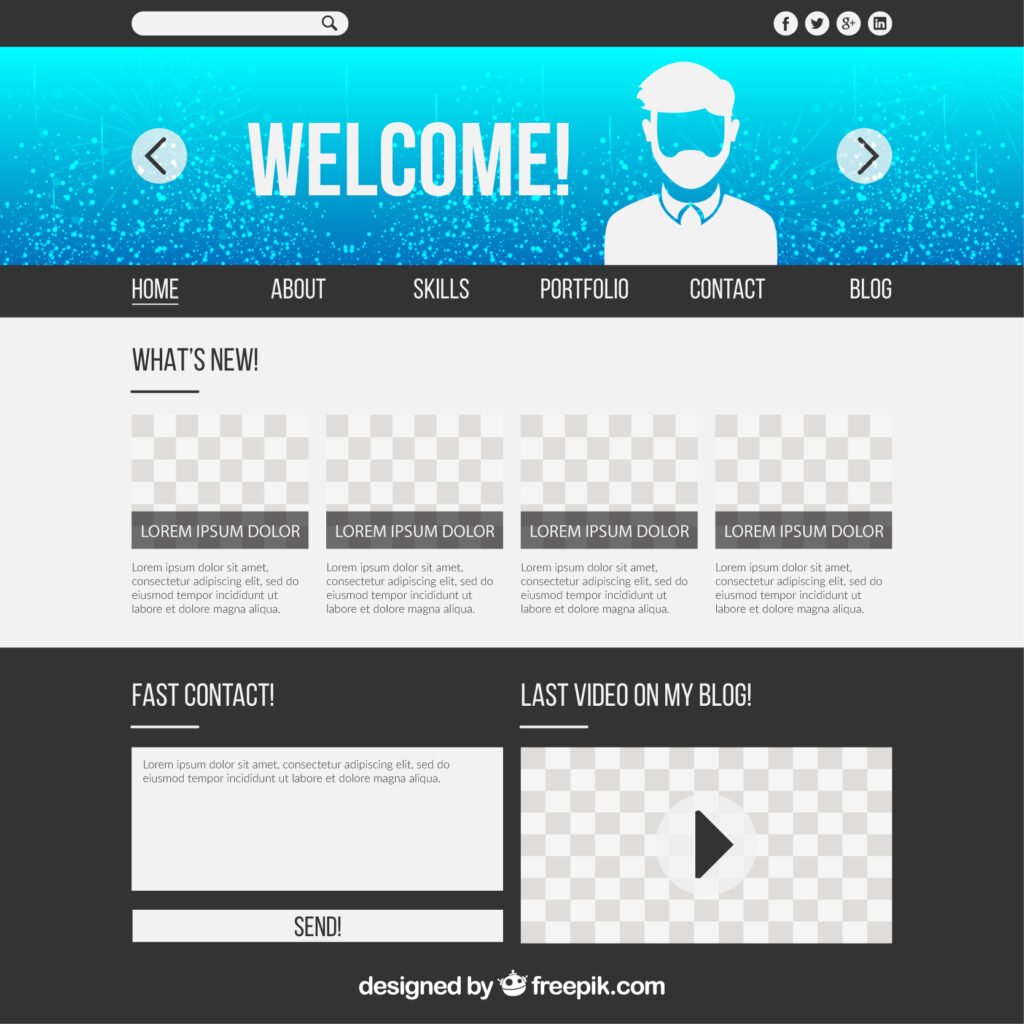
Now that your account is set up, it’s time for the fun part: choosing a template or theme. This is where your website starts to take shape no coding, no design degree needed.
A template (or theme) is a pre-designed layout you can customize. It gives your site structure, style, and flow without starting from a blank screen.
If you’re aiming to create a website in 5 minutes for free, starting with a well-designed template is key. The right template:
Instead of figuring out where to place text, images, or buttons, you’re simply swapping in your own content.
Here are some smart tips to help you pick a template fast without overthinking it:
Choose a template based on what your site is for:
Make sure the template allows you to customize fonts, colors, images, and layout even on the free plan. Some builders lock down premium designs unless you upgrade.
Preview the template on mobile before selecting it. A lot of visitors will see your site on a phone, so you want it to look good and load fast.
You’re building in minutes not hours. Pick a template that’s “good enough” and start editing. You can always change it later or fine-tune the design as your site grows.
Some platforms let you start with a blank page don’t do this unless you have design experience or a very specific vision. Pre-made templates are your best shortcut to a fast, polished site.
Picking the right template takes just a couple of clicks and sets the tone for your entire site. Choose one that feels close to your vision, then get ready to customize it in the next step.
Ready for Step 4: Customize Your Website? Let’s go!
With your template in place, it’s time to make the website yours. This is where you add your personal touch your content, your colors, your style all without writing a single line of code.
Customizing your website doesn’t have to be complicated. In fact, the best free website builders are designed to make this process fast and intuitive, even for total beginners.
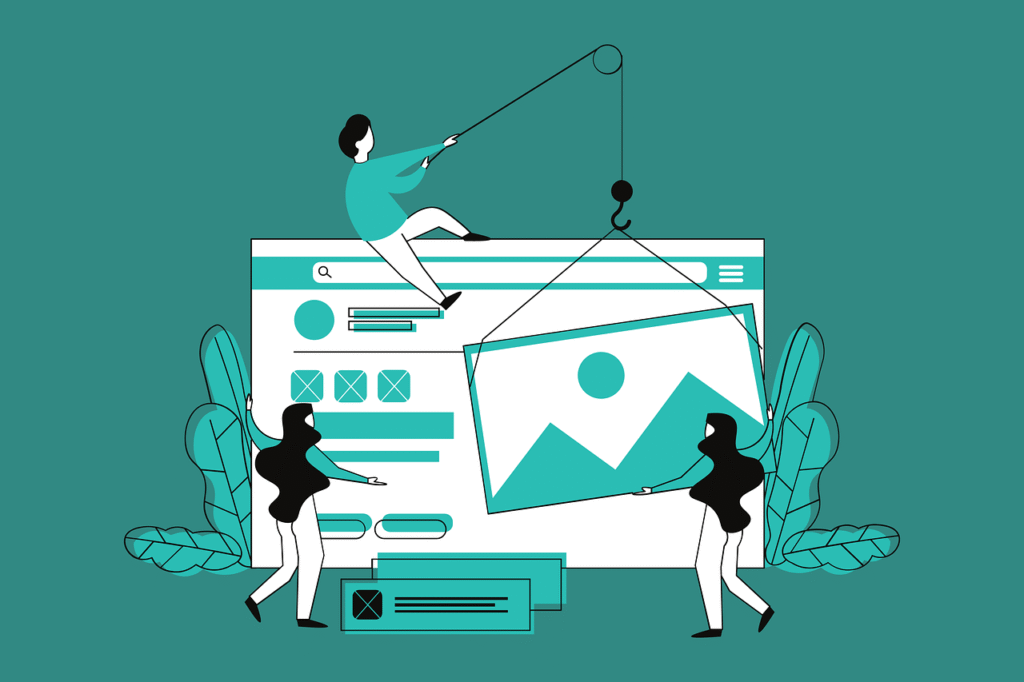
When we talk about customizing your site, we’re really talking about four main things:
Here’s a simple walkthrough to help you move fast and still create something that looks clean and professional:
This is the first thing visitors will see. Make it clear and specific. For example:
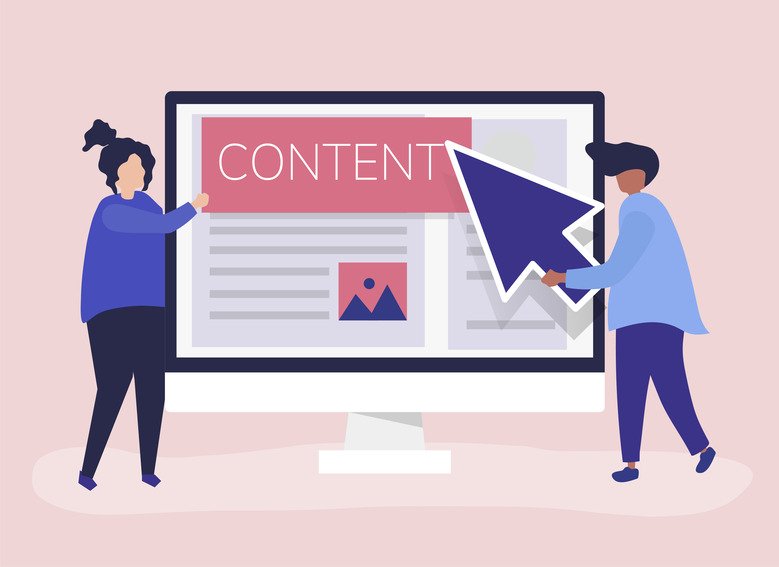
Swap out the lorem ipsum with real info. Add:
Use your own photos if you have them or grab free ones from sites like Unsplash or Pexels. Replace the template’s default images to make the site truly yours.
Most platforms have pre-made color palettes and font pairings. Stick to 2-3 colors max to keep things clean. Match your brand if you have one, or just choose colors that feel right for your vibe.
Less is more. Don’t be afraid to remove sections that don’t apply to you like testimonials, image sliders, or pricing tables especially if you’re just starting out.
Your website doesn’t need to be perfect it just needs to clearly say who you are, what you do, and how to get in touch. If you get those three things right, you’re already ahead of most.
Most builders auto-save as you go, but it’s still a good idea to manually hit “Save” or “Publish” every few minutes. You don’t want to lose your work!
With just a few clicks, your template is now a fully personalized website. In the next step, we’ll make sure you’ve got the essential pages or sections every site should have.
Ready for Step 5: Add Essential Pages or Sections? Let’s dive in.
Now that your site looks like you, it’s time to make sure it has the key pages or sections that give visitors what they’re looking for. Even if you’re creating a simple one-page website, these core elements help people understand who you are, what you do, and how to reach you fast.
You don’t need a dozen pages to look legit. In fact, 3–5 simple sections or pages are often more effective than a complex layout.
Your homepage is the first impression. Keep it clear and focused.
💡 Tip: Use a clear headline and a call-to-action button like “Get in Touch” or “View My Work.”
Tell your story in a few sentences. Whether you’re a freelancer, small business, student, or creative, the goal is to build trust and show the human behind the site.
💡 Tip: Add a photo of yourself or your team for a personal touch.
If you’re offering something services, products, or past work dedicate a section or page to showcase it.
💡 Tip: Keep it scannable with bullet points or cards instead of long paragraphs.
Make it very easy for people to reach you.
💡 Tip: Put your contact info in the footer too, so it’s always visible.
This can be a section on any page (especially the home page). It answers the question: what do you want the visitor to do next?
💡 Tip: Use a contrasting button to make it stand out.
If you’re building a one-pager (like with Carrd or Google Sites), you can still include all these sections just stacked vertically. Use anchor links or scroll navigation for a smooth experience.
Don’t stress about writing perfect copy or creating fancy pages. You can always tweak things later. What matters most right now is having a clear, useful layout that gives your visitors what they came for.
Once these essentials are in place, you’re ready to preview and publish your website the final push to get your site live in minutes.
Let’s move on to Step 6: Preview and Publish.
You’ve picked a template, added your content, and customized your layout now it’s time for the moment that makes it real: previewing and publishing your website.
This is where your site goes from an idea to something live on the internet that anyone can visit. And the best part? It only takes a few clicks.

Before you hit that “Publish” button, take a quick look at how your site appears to others.
Most website builders offer a Preview Mode, letting you see how your site will look on different devices desktop, tablet, and mobile.
💡 Tip: Open your preview in a new tab and pretend you’re a first-time visitor. Is everything clear? Do you know what action to take?
Once you’re happy with your site preview, go ahead and click Publish.
Here’s what usually happens:
yourname.wixsite.com/portfolio or yoursite.carrd.co)Most platforms will also confirm that your site is live and give you a “View Website” link to copy or share.
Once it’s live, bookmark your site in your browser. It’s a simple move, but it keeps your site one click away and reminds you that your digital presence is officially real.
Publishing isn’t permanent. You can:
The important thing is to get online fast. The sooner your site is live, the sooner you can share it, get feedback, and start growing it over time.
Up next: Step 7: Get a Free Domain or Subdomain let’s make your website link easy to share.

After you hit Publish, your website needs a web address also known as a domain so people can actually visit it. The good news? If you’re building your website for free, you don’t need to pay for a domain name right away. Most website builders give you a free subdomain, which works perfectly to get started.
Let’s break it down simply:
www.yourname.com. It looks professional but usually requires a paid plan.yourname.wixsite.com or yourname.carrd.co.The subdomain is totally functional people can click, visit, and share it just like any other website.
As soon as you publish your site using a platform like Wix, WordPress.com, Carrd, or Google Sites, you’ll be automatically assigned a free subdomain. You can usually customize part of the URL:
yourname.wixsite.com/sitenameyourname.carrd.coyourname.wordpress.comsites.google.com/view/yournameMost builders allow you to edit the “yourname” or “sitename” part before publishing make it clean, short, and relevant to your site.
💡 Tip: Avoid using random characters or numbers in your subdomain. A simple, easy-to-remember name is more shareable and trustworthy.
Not necessary if you’re just starting out or testing an idea especially when you want a free site up in minutes.
But here’s when it might be worth considering a custom domain later:
Platforms like Wix or WordPress.com usually offer domain upgrades with their paid plans. You can also connect a domain from providers like Namecheap or Google Domains if you buy one separately.
Once your free subdomain is live, copy the link and share it:
Your goal is to get people to your site and a free subdomain gets the job done.
Next up: Step 8: Optimize for Mobile Devices because your site should look great everywhere!
Now that your website is live with a working web address, the next step is crucial: get people to see it. A website no one knows about is like a business card stuck in a drawer it’s ready, but not working for you.
Sharing your site doesn’t have to be complicated or salesy. Just let people know it exists, and give them a reason to check it out.
Before you worry about traffic from Google or social media algorithms, start small share your site with people who already know, trust, or support you.
💡 Tip: You don’t have to make a big announcement. Just casually include your site when it makes sense like when someone asks what you do, or when you share a new project.
Don’t just drop your link give a reason to click. A simple sentence can go a long way:
“I just launched my photography portfolio check it out here!”
“Built a quick site to showcase my freelance design work. Would love your feedback!”
This helps people know what to expect and why they should care.
One of the smartest things you can do after launching is to ask people for quick feedback. It shows humility, invites engagement, and gives you valuable input to improve your site later.
Ask questions like:
Even if your website isn’t “perfect” yet, putting it out into the world builds momentum. It turns your site from a static project into a living tool something that can open doors, start conversations, and build your digital presence.
So don’t overthink it hit share, send that link, and let your site start doing its job.
You just learned how to create a website in 5 minutes for free, and now you’ve got something live, shareable, and completely yours without touching code or spending a cent. That’s a huge win.
Whether you’re showcasing your portfolio, launching a small business, or just building a personal page, remember this: your website doesn’t have to be perfect to be powerful. It just needs to be clear, functional, and authentic.
Let’s quickly recap what you’ve done:
In just a few steps, you went from idea to execution and that’s more than most people do.
If you’re ready to take your free website a bit further, here are a few extra tips that can make a big difference:
Search engines need some help understanding your site. In your website builder, look for:
These tiny tweaks help your site show up in Google results faster and higher.
Even free website builders often include a way to track visitors. This tells you:
Use this data to improve and grow.
Even just posting updates, projects, or tips once in a while helps keep your site fresh. Plus, it gives you something new to share on social media or in emails.
Most platforms automatically give you HTTPS (that little padlock in the browser). If not, look for the setting and enable it, it builds trust and keeps your visitors safe.
As your goals or content change, make sure your site still reflects who you are and what you offer. A quick monthly check-in keeps it from going stale.
A website doesn’t have to be big to be effective. Even a simple, one-page site can help you:
So don’t wait for “someday.” You’ve already started and now you’re officially online.
If you found this guide helpful, share it with someone who’s been meaning to launch their own site. Let’s make the internet a little more personal one free website at a time.
💡 Looking for tools to build or grow your website? Check out our in-depth product reviews where we compare the best free website builders, hosting platforms, and digital tools all tested and reviewed to help you make the right choice.